Custom Sites
Add any website to track time with a draggable Snap for Harvest button. Perfect for project management tools, ticketing systems, and any site you work on.
Adding a Custom Site
Method 1: Quick Add (Right-Click)
- Navigate to the website you want to add
- Right-click the extension icon in your browser toolbar
- Select Add Custom Site
- The site is added immediately and the Snap for Harvest button appears
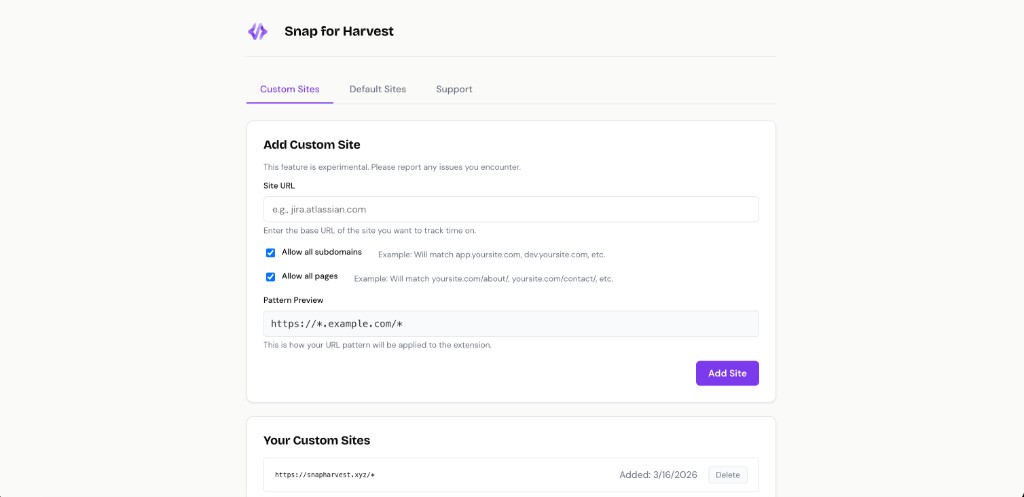
Method 2: Options Page
- Click the extension icon → Options
- Go to the Custom Sites tab
- Enter the website URL (e.g.,
jira.atlassian.com) - Configure options:
- Allow all subdomains: Works on app.site.com, dev.site.com, etc.
- Allow all pages: Works on all pages within the site
- Click Add Site
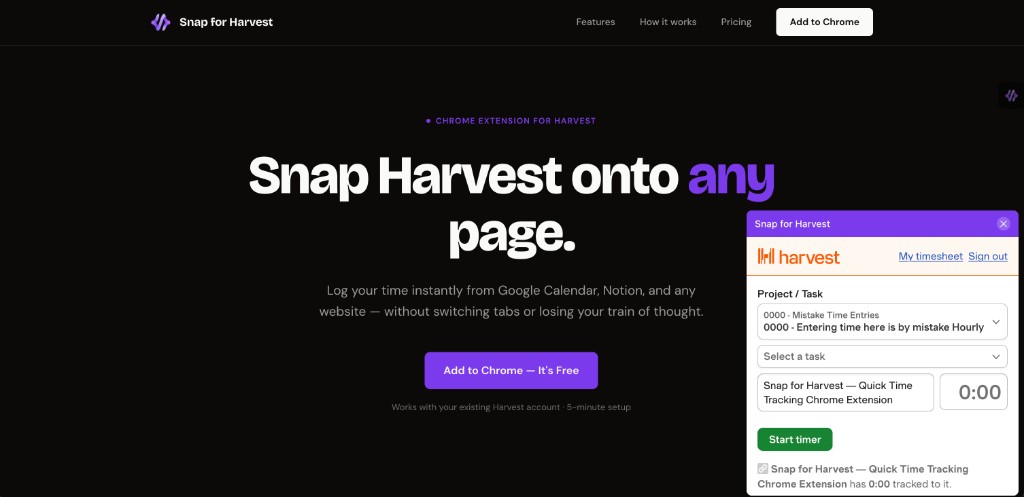
Using the Snap for Harvest Button
Button Behavior
- A draggable Snap for Harvest button appears on enabled sites
- Click and drag to reposition anywhere on the page
- Your position is saved across all enabled sites
- Click the button to open the Harvest timer
Automatic Context Capture
When you click the button, the extension automatically captures:
- Page title: Pre-filled in the Notes field
- Page URL: Stored as the external item ID
- Site context: Helps you remember what you were working on
Managing Custom Sites
Viewing Your Sites
Go to Options → Custom Sites to see all sites you've added with their URL patterns and dates added.
Removing a Site
To remove a custom site:
- Right-click the extension icon → Remove Custom Site
- Or go to Options → Custom Sites and click the Delete button
Bulk Import / Export (CSV)
You can manage custom sites in bulk using CSV import and export.
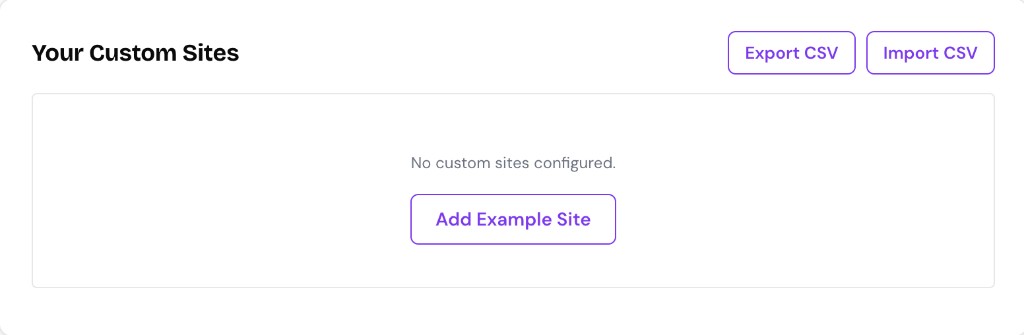
Export CSV
- Open Options → Custom Sites
- In the Your Custom Sites header, click Export CSV
- Save the downloaded file
You can now edit the CSV in Excel, Google Sheets, or any text editor.
Import CSV
- Open Options → Custom Sites
- In the Your Custom Sites header, click Import CSV
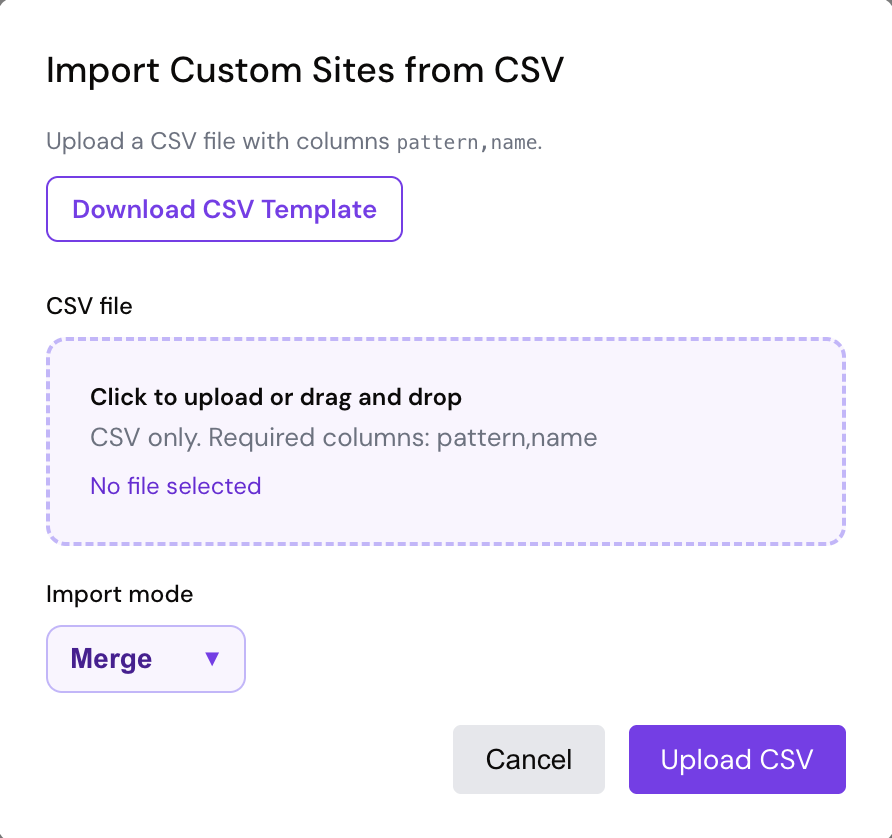
- In the popup:
- Click or drag-and-drop to upload your CSV
- Optionally Download CSV Template to see the correct format
- Choose import mode:
- Merge: Add/update imported sites and keep existing ones
- Replace: Replace your current custom sites with imported ones
- Click Upload CSV
CSV Template
Download the template to see the correct format and example sites:
Note: CSV import/export only affects your Custom Sites. Default supported sites are managed in extension defaults and organization policy. For org-wide deployment, see the Google Admin Guide.
URL Pattern Examples
Here are some examples of how URL patterns work:
jira.atlassian.com→ Only matches jira.atlassian.com*.atlassian.com→ Matches all Atlassian subdomainsapp.asana.com/*→ Matches all pages on app.asana.com
📹 Video guide coming soon — We're creating a video walkthrough to show you exactly how to add and use custom sites.
Common Questions
How many custom sites can I add?
There's no limit! Add as many sites as you need.
Can I reposition the button on different sites?
The button position is shared across all enabled sites for consistency.
Does this work on localhost?
Yes! You can add localhost URLs for development work.